Back in the day, I would look at web sites written by college kids with too much time on their hands detailing how, using only seven carefully selected RadioShack parts, they had constructed a pet robot, or something like that. Though I am still working towards the skill of those RadioShack patrons of yore, I made a first foray in to that world in the winter of my freshman year of college. What began as a reason to explore Penn State’s Learning Factory and come out with a party prop soon became known as the “Staff of Doom.”
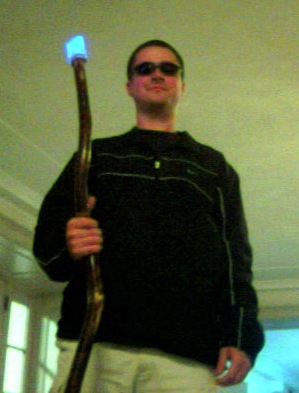 Parts: The following parts actually wound up inside the walking stick.
- One Big Ol’ Wooden Walking Stick
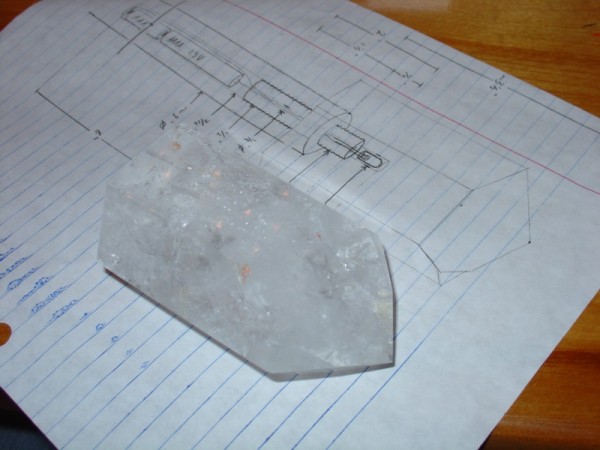
- One Big Ol’ Hunk of Quartz, bought from Rose Creek Treasure’s mineral store on eBay.
- Three High Intensity Blue LEDs (RadioShack 276-316)
- A small toggle switch (RadioShack 275-407)
- Three AAA batteries
- Two paper clips, used as electrical contact springs for the batteries
- Some threaded rod and threaded tubing (or make your own)
- A boba tea straw, used to hold batteries in place
- Some scrap metal (aluminum plate) used to fashion a base for the quartz
- Wire, electrical tape, and epoxy
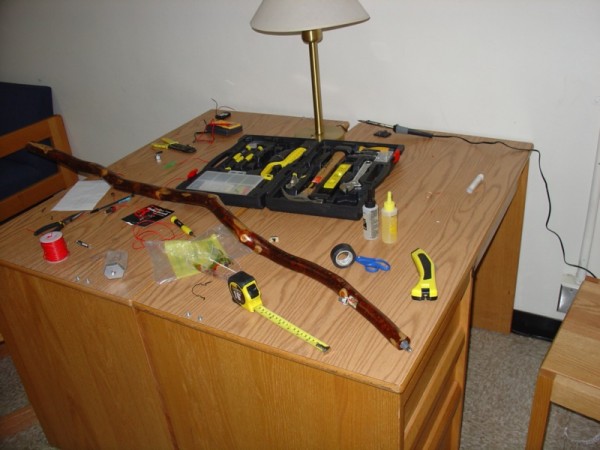
Workspace: A cluttered workspace is necessary for getting anything accomplished.
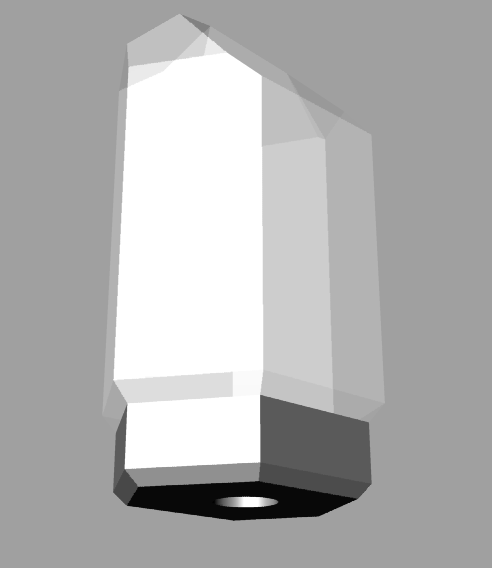
Crystal Mounting: The crystal was mounted to a piece of aluminum cut to match its base. This might also be a good place to throw in a picture of the original plans, which were drawn to scale. The metal base of the crystal has a hole drilled into it and tapped (threads put in). The lamp assembly screws into this hole as well as into the hole in the stick, fastening the crystal to the stick.
 |
 |
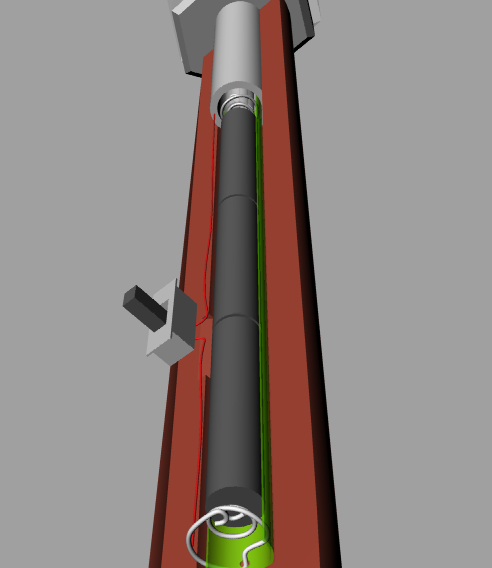
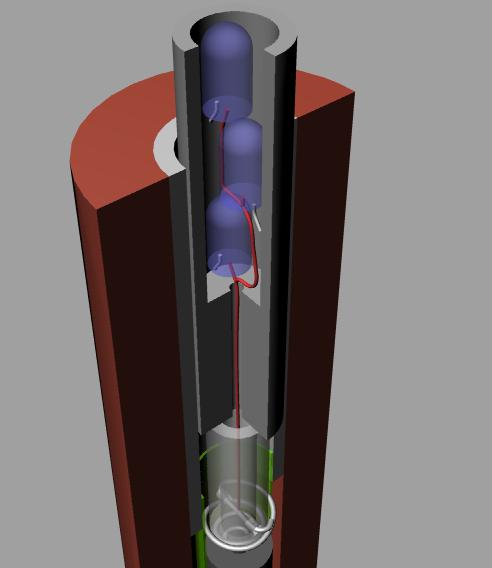
Power: The stick is powered with three AAA batteries, held in place by a boba tea straw (green). The dynamic here is very much like that in a flashlight: the batteries are stacked one on top of the other; the negative terminal of the battery stack is connected (through a Paper Clip Spring ™) through the switch that protrudes from the side of the stick and up to the side of the lamp complex. The positive terminal of the battery stack goes to the bottom of the lamp complex. (The photo below was taken before the assembly was fully in the stick; the Rhino rendering is fairly accurate.)
 |
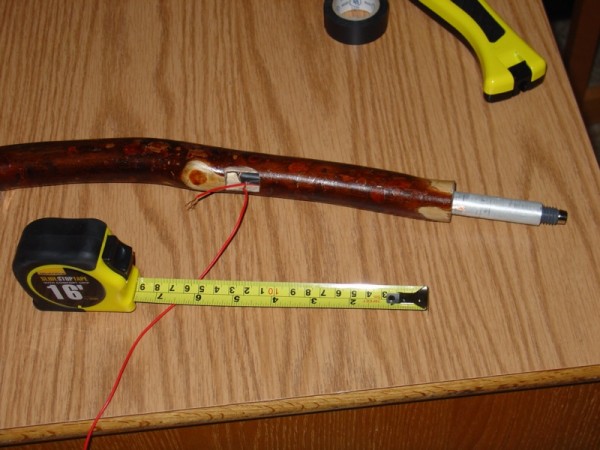 |
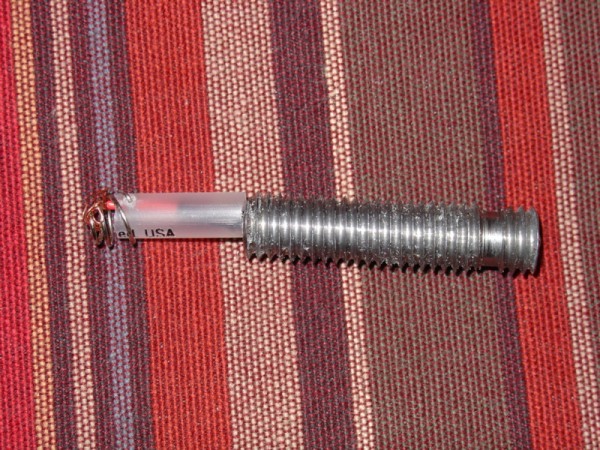
Lamp Assembly: The lamp assembly is fairly straightforward, if hard to put into words. Threaded rod is drilled out, leaving a cavity for three blue LEDs. The LEDs are wired such that the –ive contacts are touching the body of the threaded rod, while the +ive contacts are attached to an insulated wire which passes down through a smaller hole in the threaded rod, through a plastic spacer (made of a piece of a ballpoint pen), and to another Paper Clip Spring ™. Note that generally, LEDs require resistors in series with them to regulate voltage; they don’t behave nicely in high current situation and have very little resistance themselves. In this case, I didn’t use any resistors, because the voltage works out pretty well for the three LEDs in parallel that the marginal internal resistance of the batteries is enough. Check this if you’re building your own.
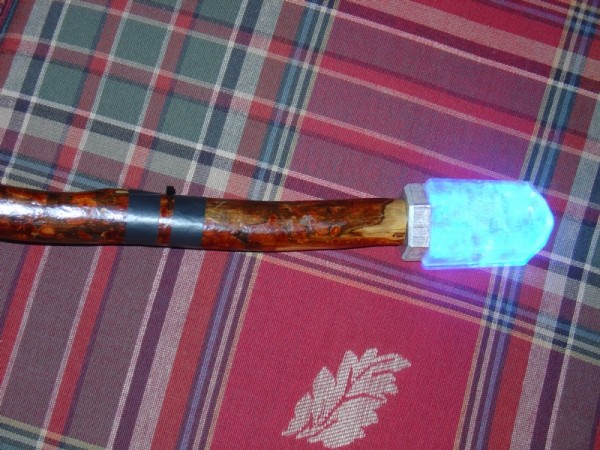
All Together Now: After the lamp assembly is screwed into the hole of the stick (the top of which is reinforced with a tapped metal tube which also serves as an electrical contact for the –ive power line) and the crystal base, everything is all together. Flip the switch, and the glowing begins. Or the exploding. Both of these are fun.
 |
 |
To Do: As many people have commented, the switch is not a strong point of the design here. I do intend to swap it out for something niftier. Someone suggested a magnetic switch operated by the proximity of a ferromagnetic ring; that’s a distinct possibility. Worst case scenario, I will hide the switch a bit better and make a permanent fixture for it with a piece of aluminum to match the base of the crystal. Best case, it will be something completely different.
This page was featured on hackaday.com. Unfortunately the post is now lost to history.

Leave a Reply